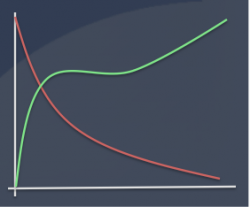
Our technicians will travel to our customers’ plant sites to calibrate, test, and verify thickness and coat weight gauge systems. We also work with our in-house sample laboratory and test gauges to establish calibration curves for existing, older gauge systems that are suddenly required to measure new products.
Base (Linearity) Calibrations: We perform initial calibrations for new gauge commissioning, relocation, and rebuilds in order to establish a direct straight-line response of the gauge to the thickness or coating mass.
Alloy Chemistry Compensation and Calibration: SenTek offers alloy chemistry compensation models, primarily for our X-ray gauge systems, but also for isotope gauges. These models can be included as part of our thickness gauge systems or provided as stand-alone calibration tools
2-Component Calibrations: For coating mass gauges that are set up to measure two-component metallic coatings, we set up calibration standards and test procedures in conjunction with our customers’ metallurgical staff and laboratory to ensure the best possible agreement between the gauge and the quality control process.
Laboratory Convergence: Our gauge calibration tools and procedures are set up to minimize any difference between the actual gauge reading and the laboratory determination.

